Media Synchronization
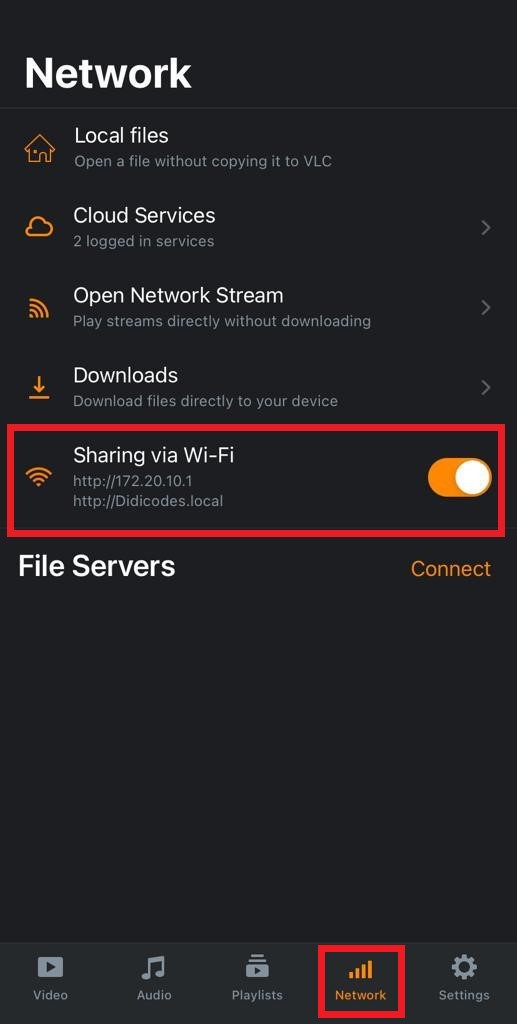
With VLC for iOS, you can watch, add or download media files using various synchronization methods. This section highlights the different methods supported by VLC for iOS and how to use them.
File Sharing with Finder or iTunes
On macOS Catalina and any later version, you can use the Finder to add media files to VLC for iOS or to remove them. You can read more about it in Apple’s documentation.
If you are using macOS Mojave or an earlier release of macOS or any version of Microsoft Windows, you can use iTunes’ File Sharing feature to do file transfers. You can find out more about it in Apple’s documentation.
Cloud services
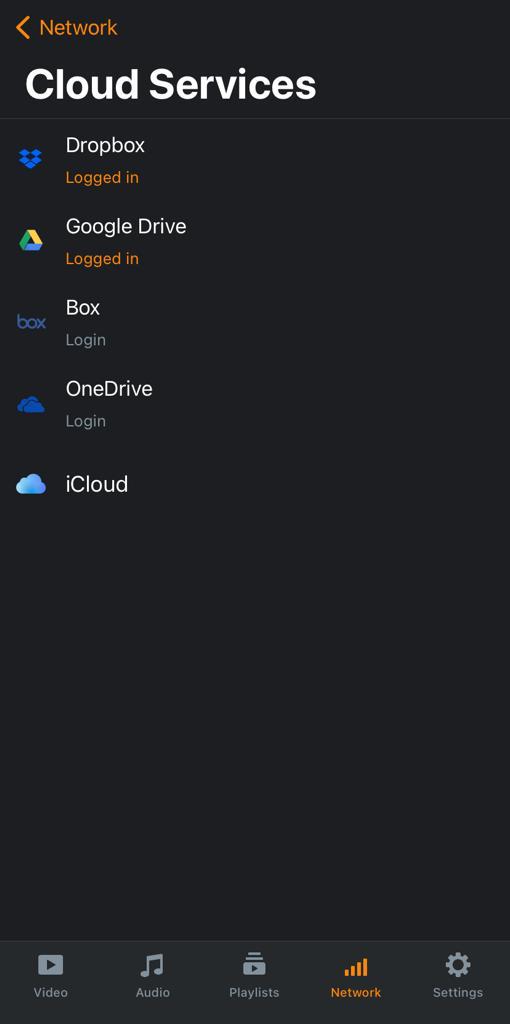
In VLC for iOS, you can upload, stream, and download media files with any of the following cloud service providers: Dropbox, Google Drive, Box, OneDrive, iCloud Drive.
To do this, follow the steps below:
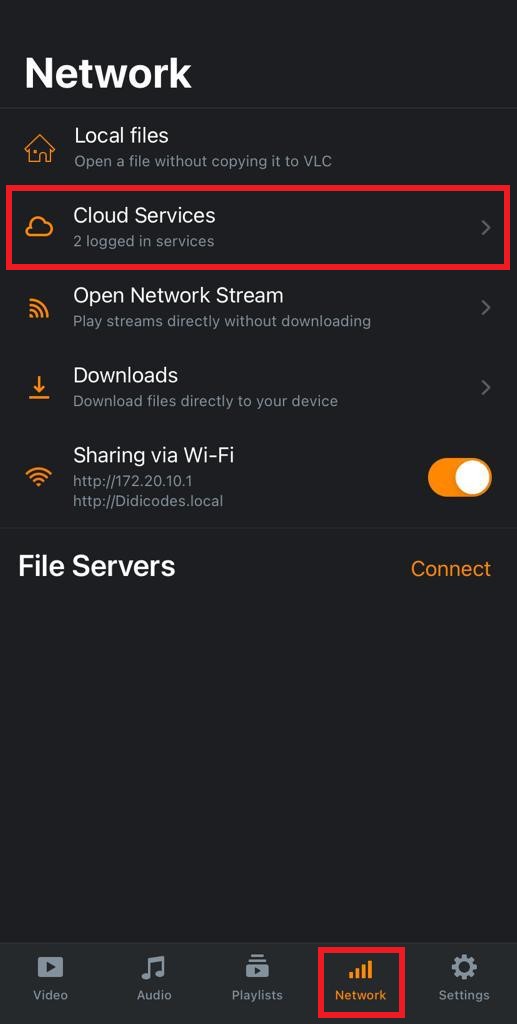
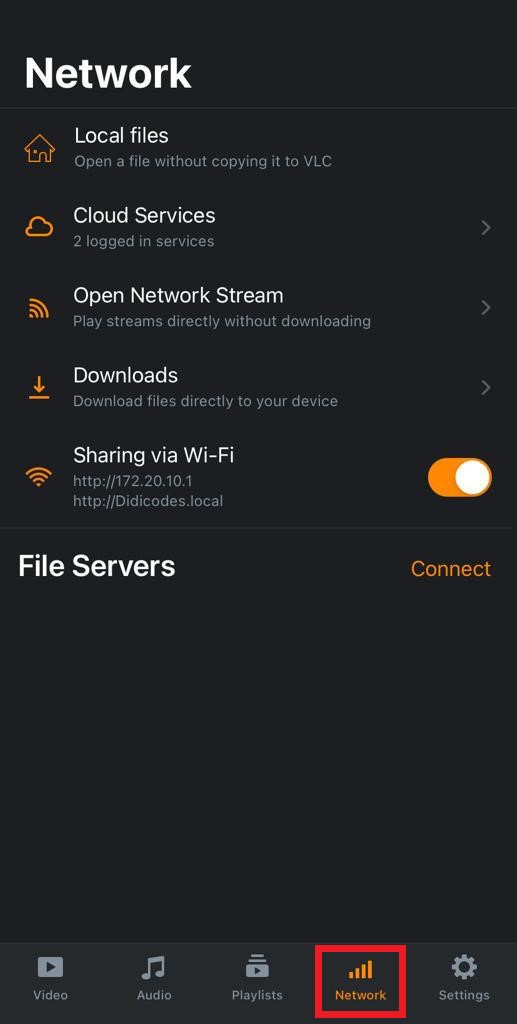
Tap the Network tab on your VLC for iOS application.
Tap on Cloud Services.
Select and log in to your preferred cloud service platform.
Start streaming and downloading media files directly from the cloud service.
Download media files
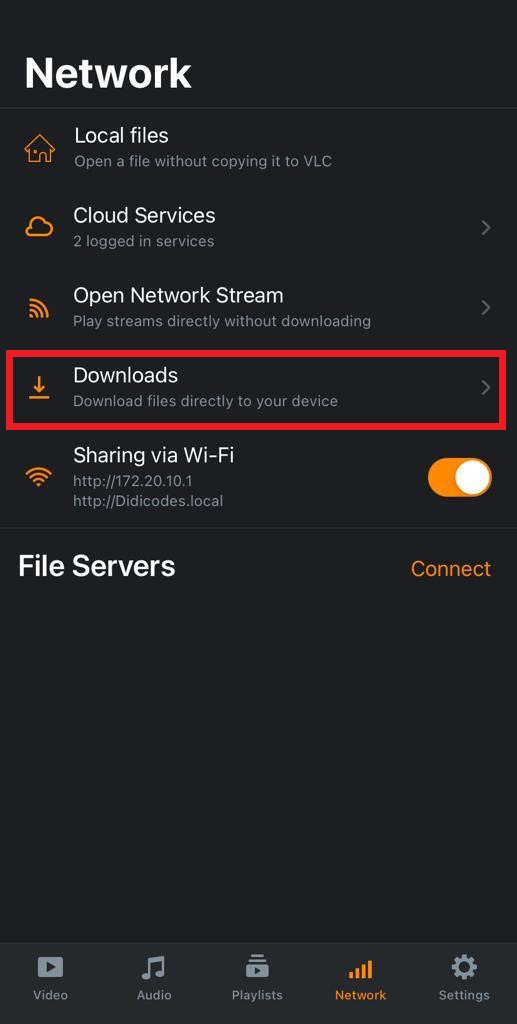
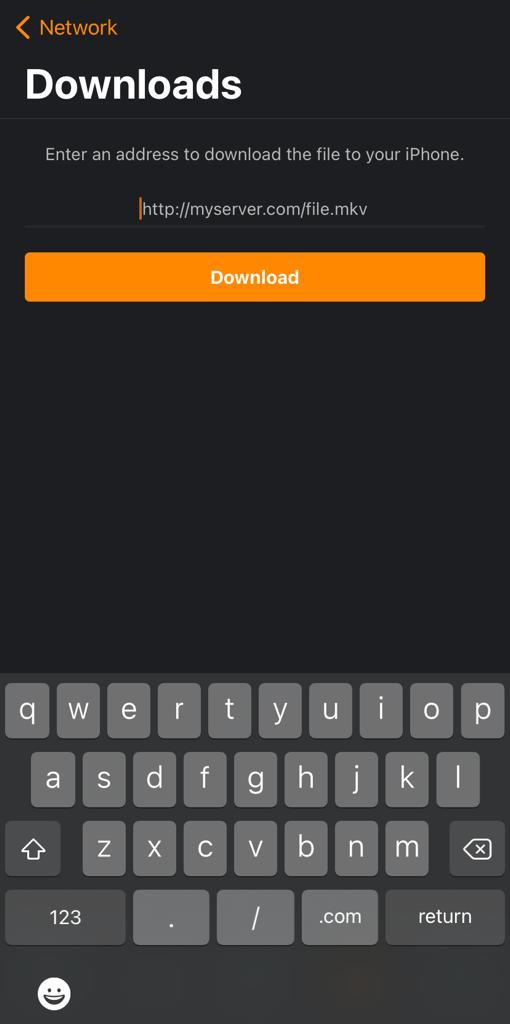
You can also download media files directly from the web with VLC for iOS. To do this, tab on Network, select Downloads, enter the URL address of the file you want to download and tap on the Download button. A progress bar will indicate when the download is complete.
Note
Downloads from popular video playback sites such as YouTube or Vimeo are not supported in VLC for iOS.
Open a media file without copying it to VLC
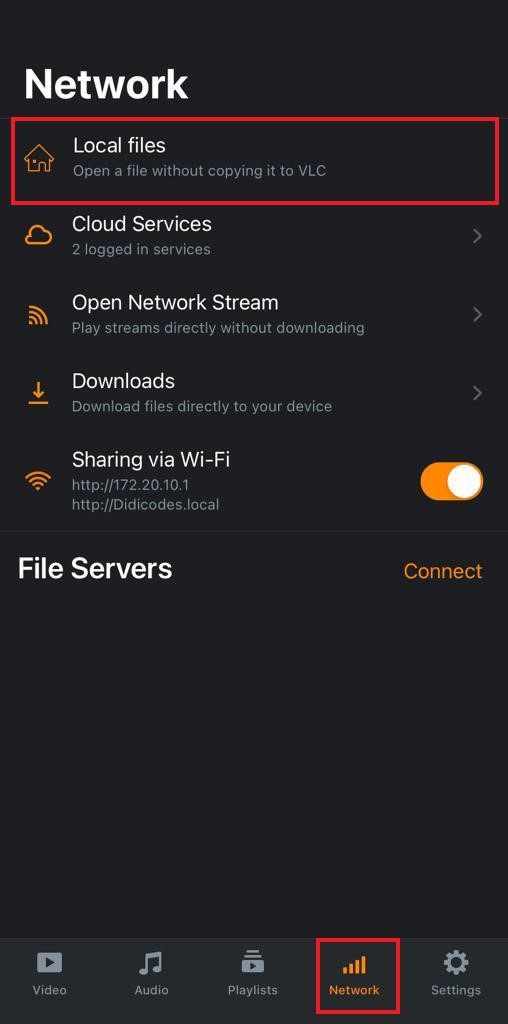
In addition to using the aforementioned media synchronization methods, you can also open a file without copying it to VLC. Here’s how:
Open your VLC for iOS application and tap the Network tab.
Tap on Local files to access the media files on your device.
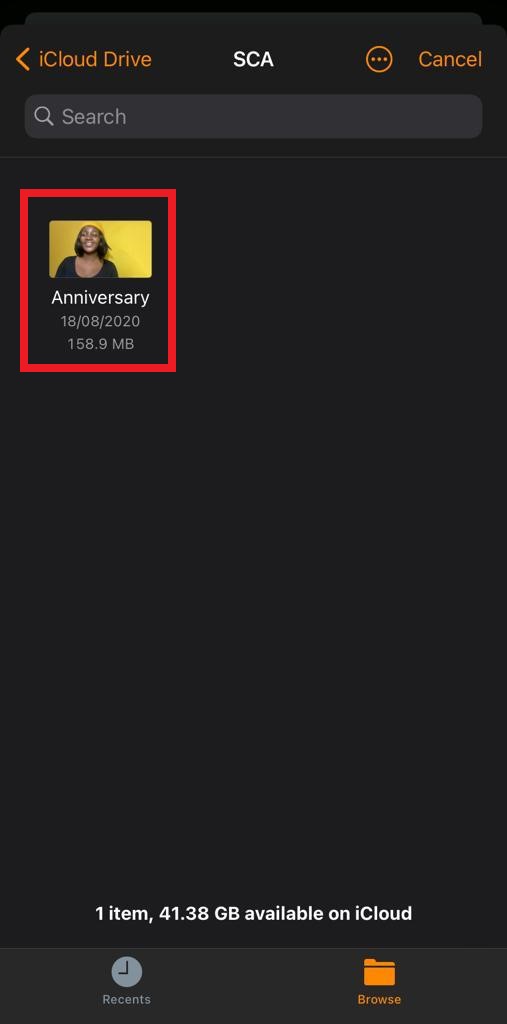
Tap on the media file you want to open directly on VLC.
If you followed the steps above, your media file should start playing on VLC. Enjoy!
